Build the deck from the files.
Every userdeck is 3D-printed around a Raspberry Pi Pico, eighteen Cherry MX switches, and an optional GC9A01 round display. The print files, bill of materials, and wiring are all open. Grab the pack and build your own, or buy one assembled.
Real switches, real display.
Not a touch panel pretending to be a deck. Mechanical keys you can map and a round screen you can throw anything at, all wrapped in a printed shell.
18 Cherry MX
Standard 1u footprint under low-profile Kailh switches. Any MX-compatible switch fits, so bring your own clackers.
GC9A01 240×240
Round 1.28" IPS SPI display drives the current page, button labels, and confirmation prompts. Optional, but recommended.
Raspberry Pi Pico
The original RP2040 board is the brain. A Pico 2 drops in just the same. Native micro USB, or wire in USB-C.
Printed enclosure
Prints clean on any decent PLA. The shell, plate, and feet are all in the pack, sized for the Pico and the round display.
Open files
3D print files, full BOM, and the wiring diagram on GitHub. The Configurator app and firmware are closed source but ship with every build.
USB-C optional
The Pico ships micro USB. Solder in an Adafruit Type-C breakout and it still enumerates as the same userdeck, no firmware change.
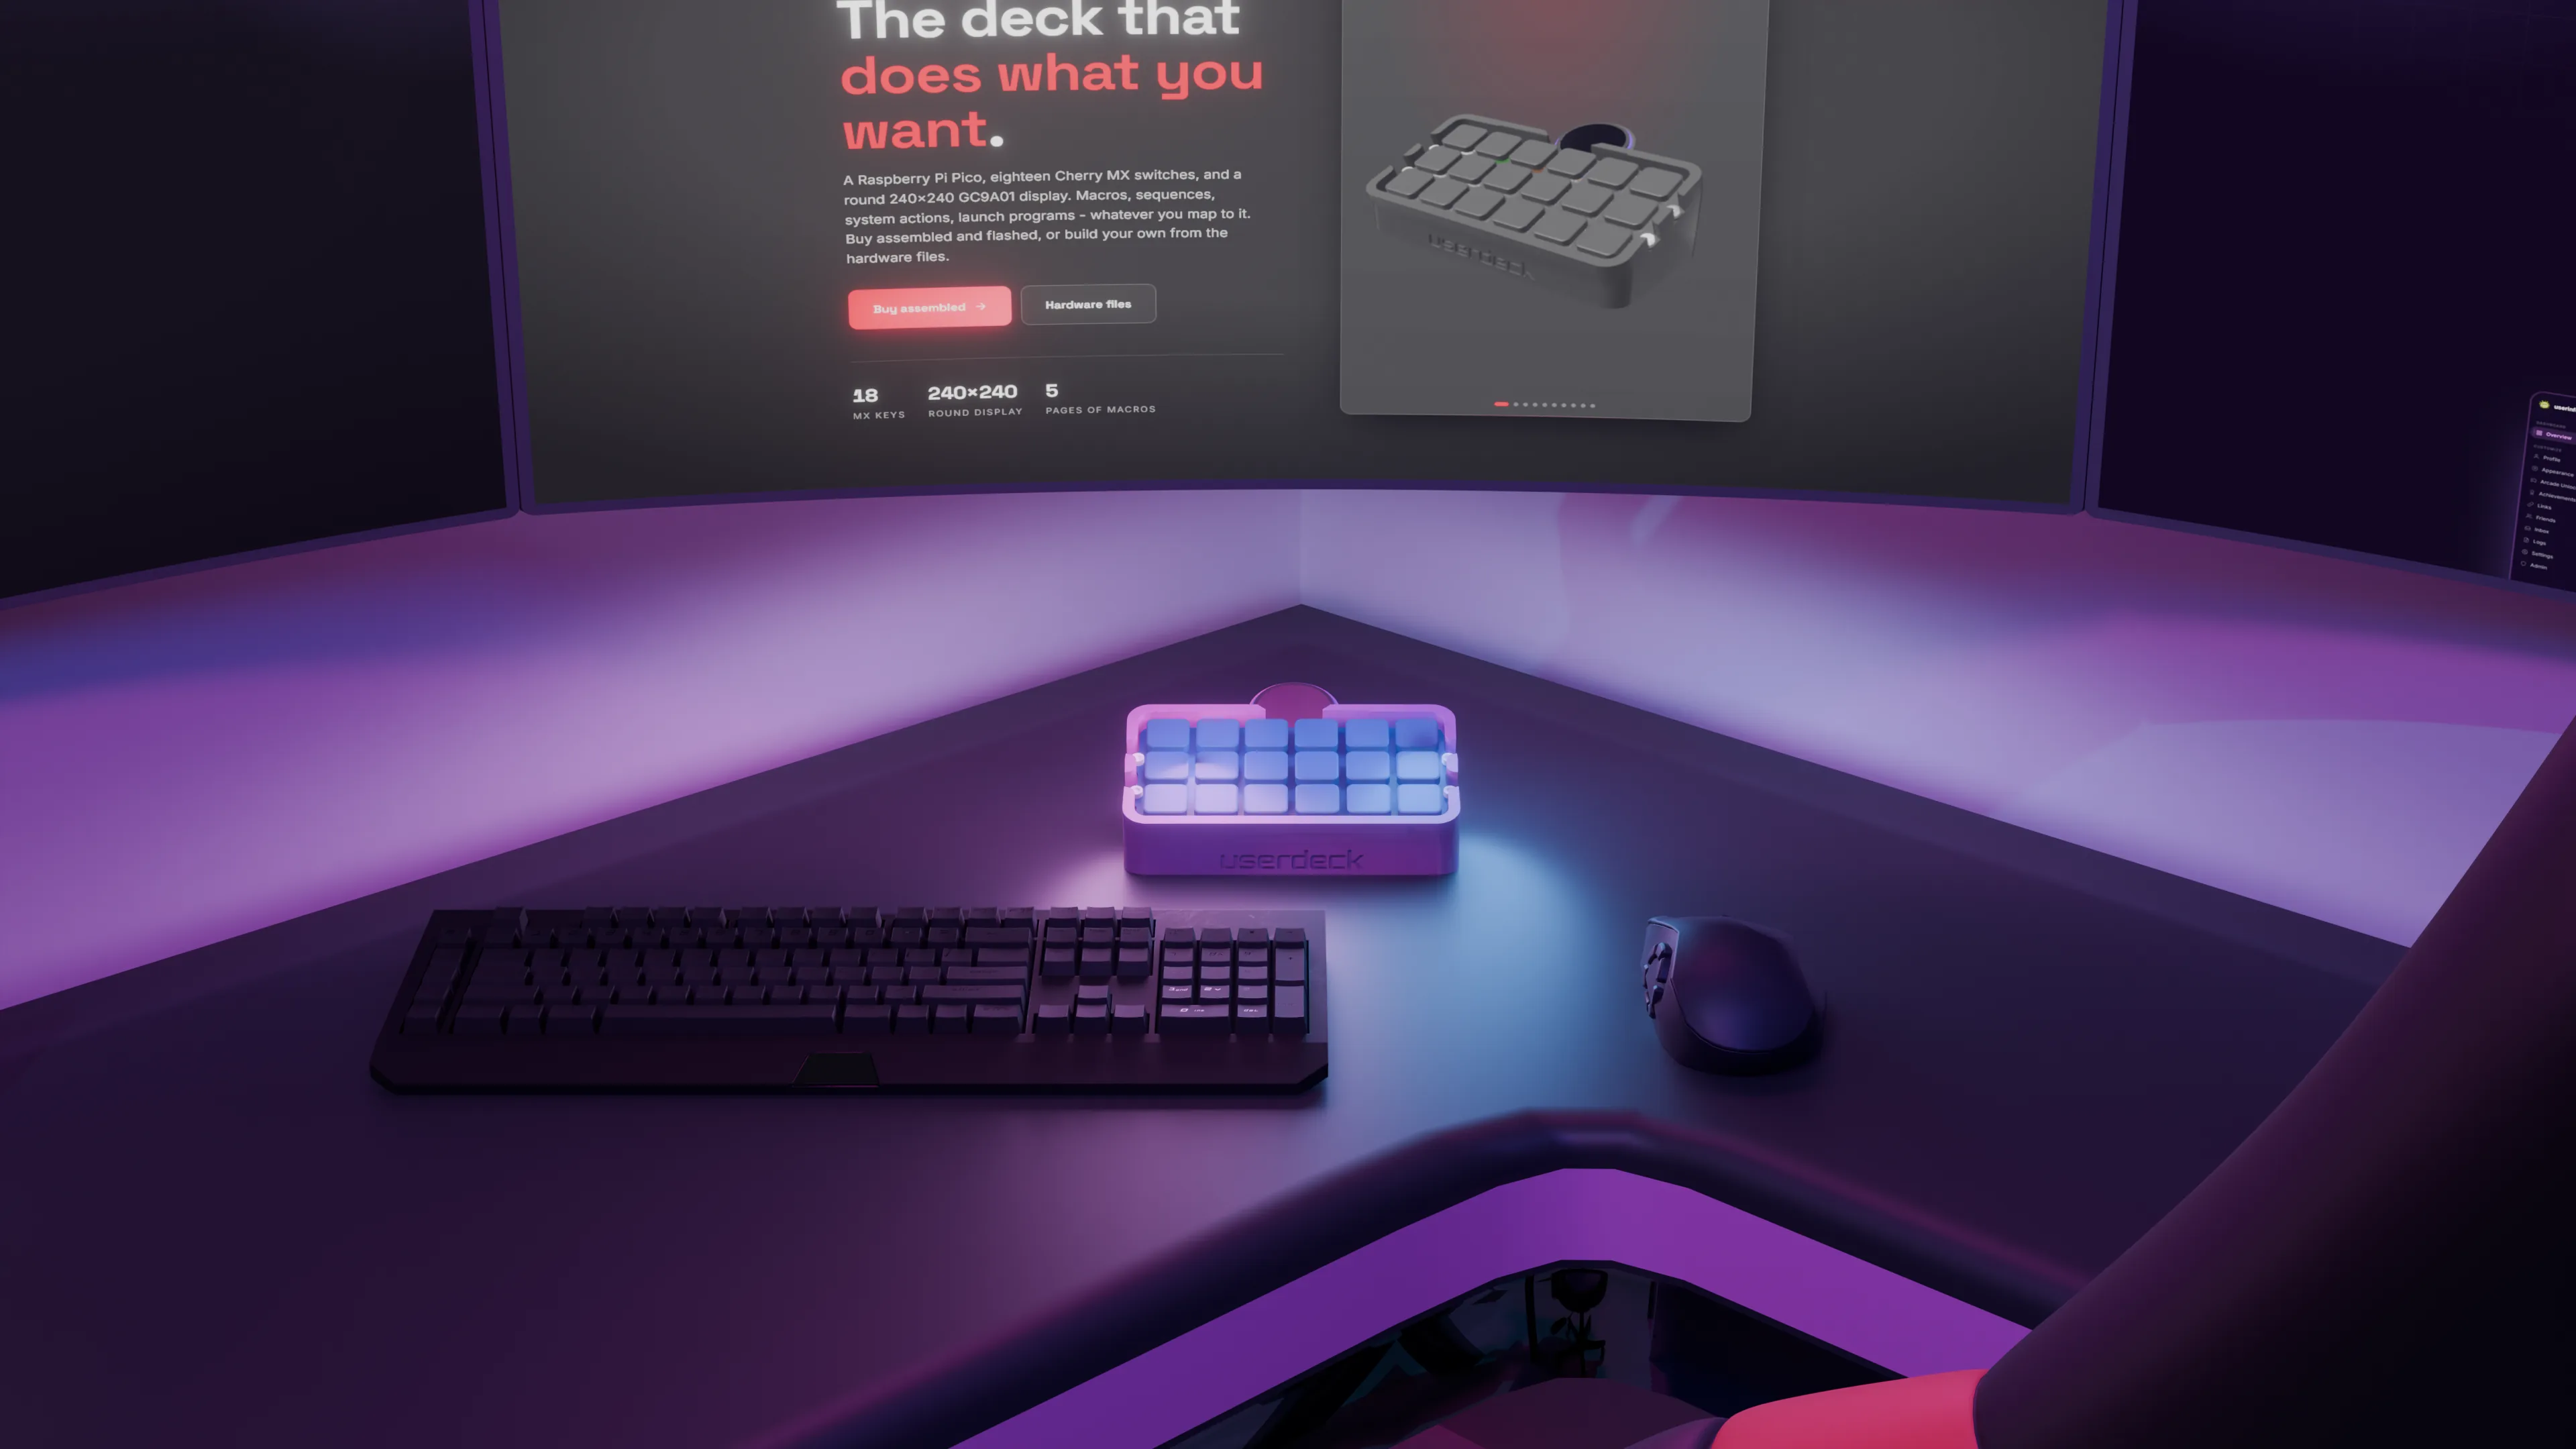
How it looks on the desk.
Printed, wired, and flashed. Renders of the finished deck where it earns its keep.
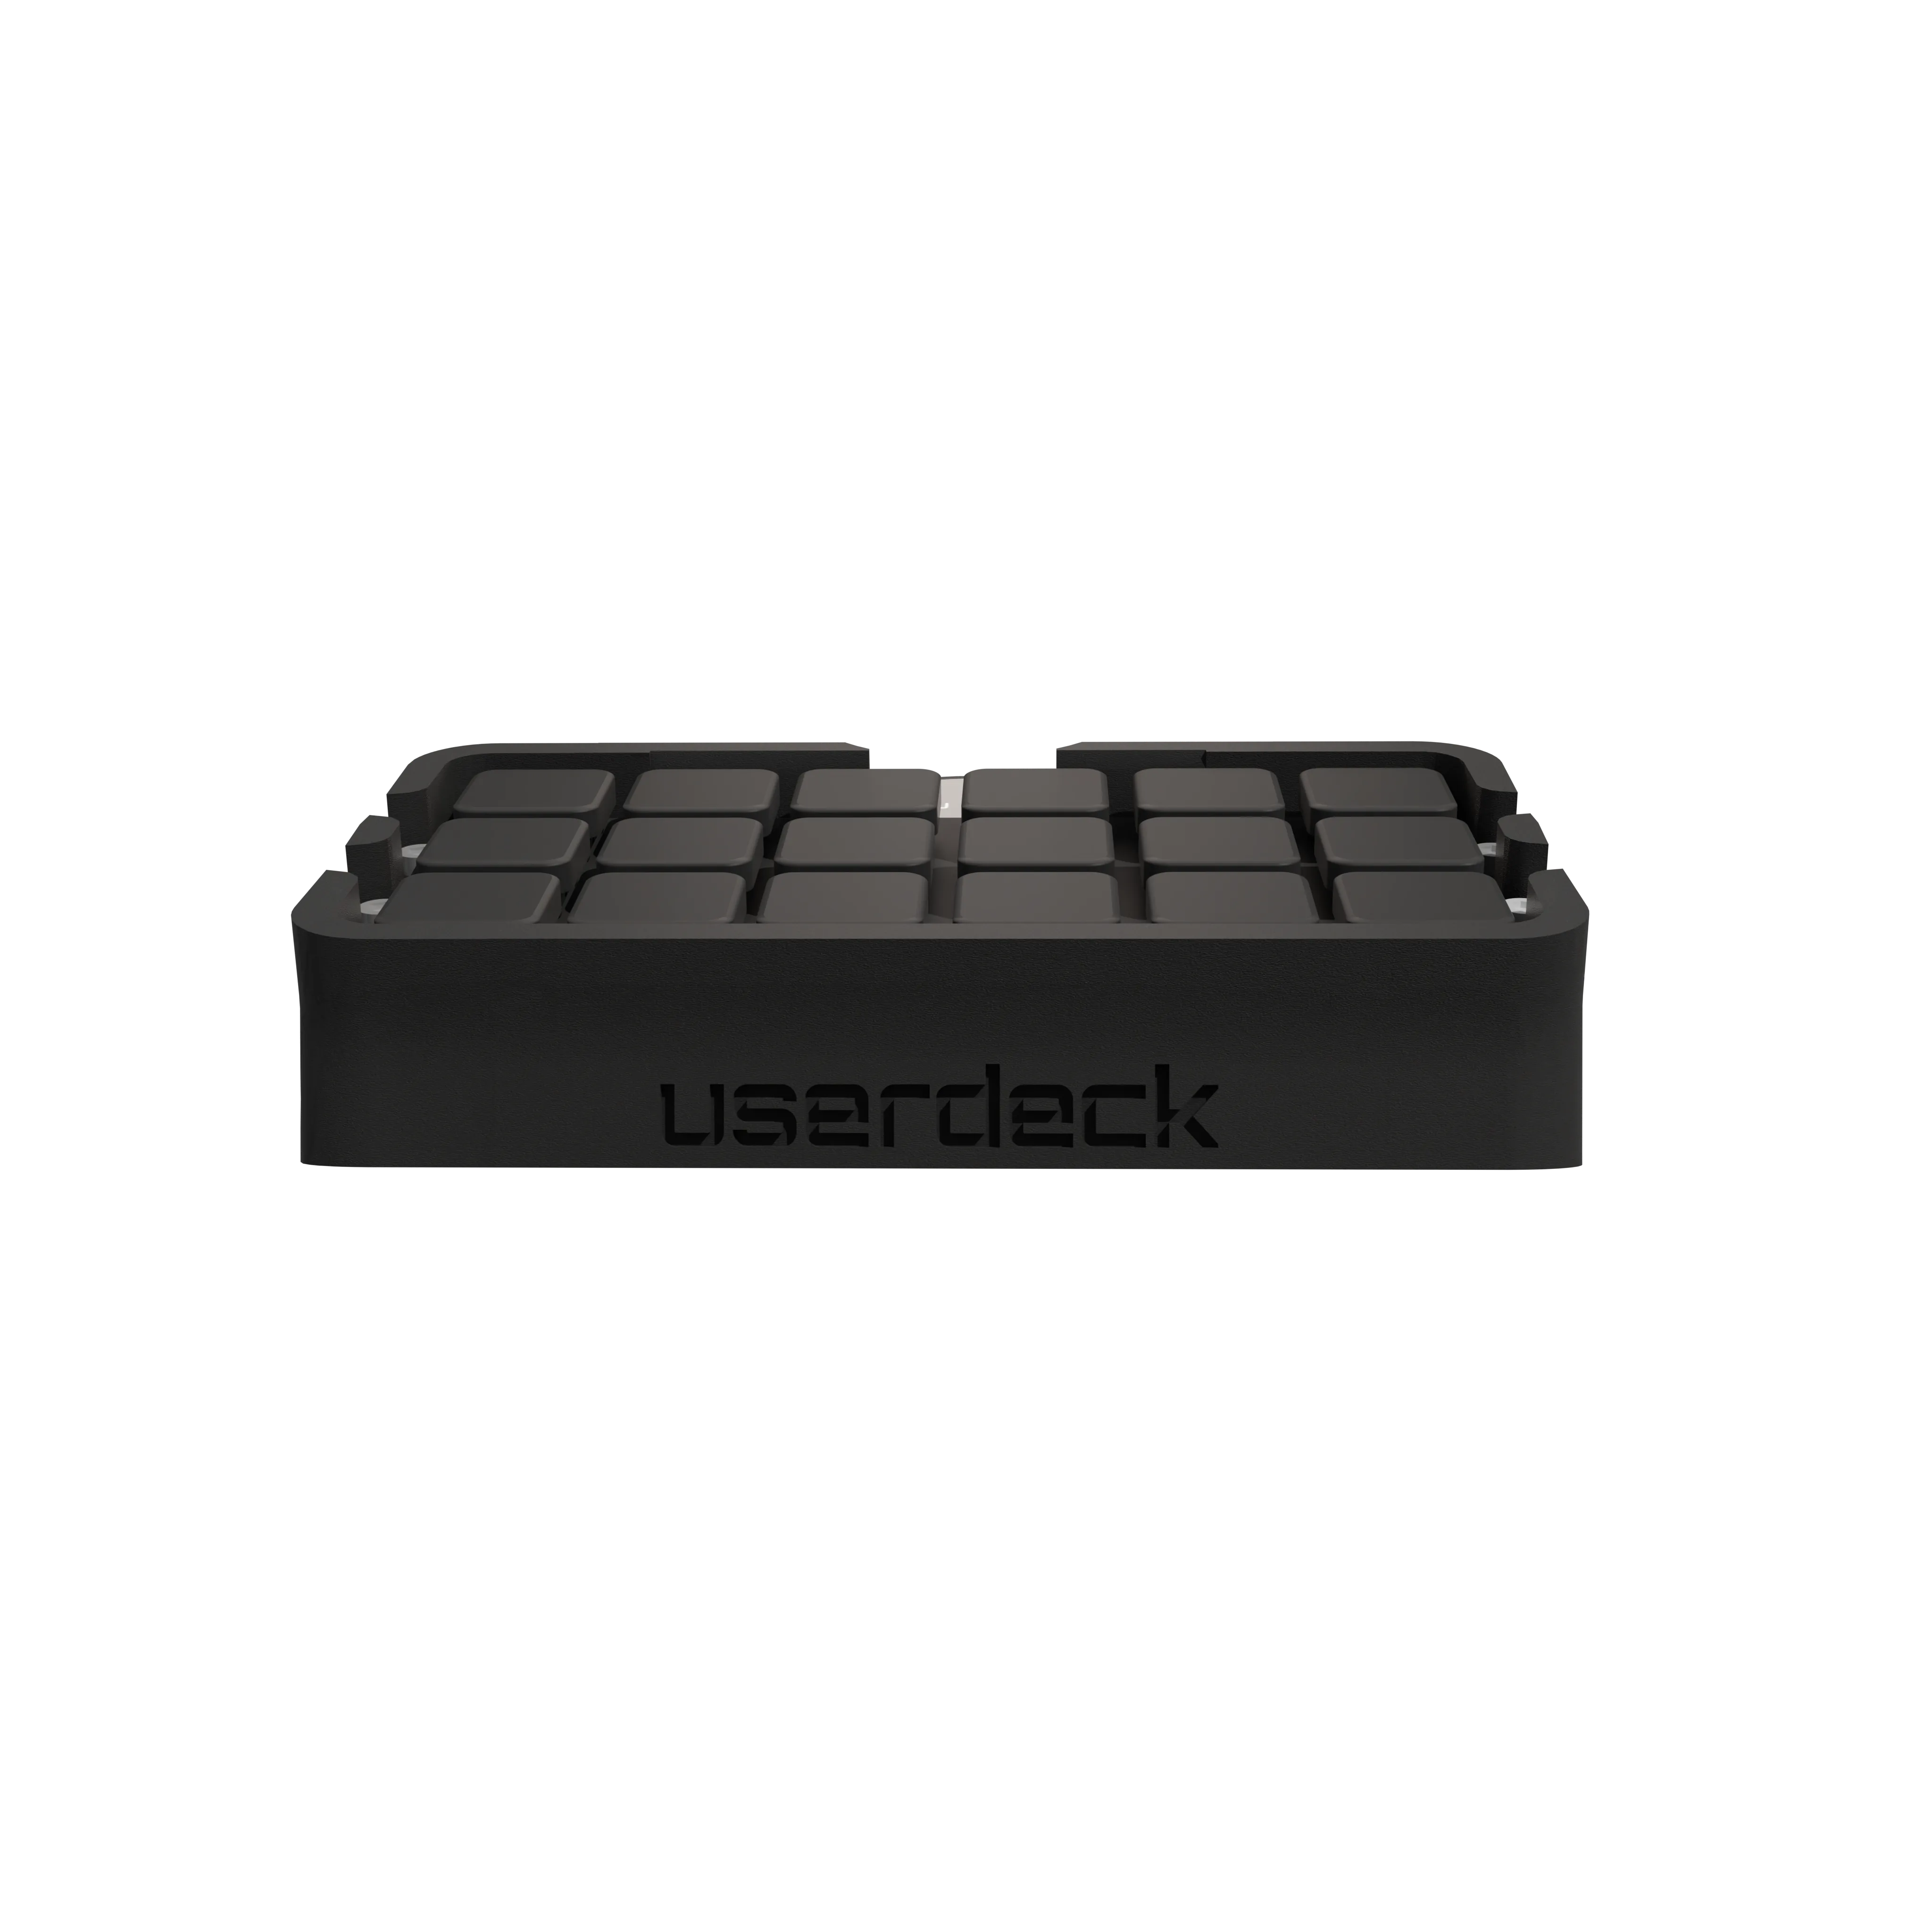
A printed deck that owns its corner
The enclosure cradles the Pico, the plate, and the round display in one printed body, with the userdeck logo across the front. Standard 1u keycaps drop straight onto the switches.
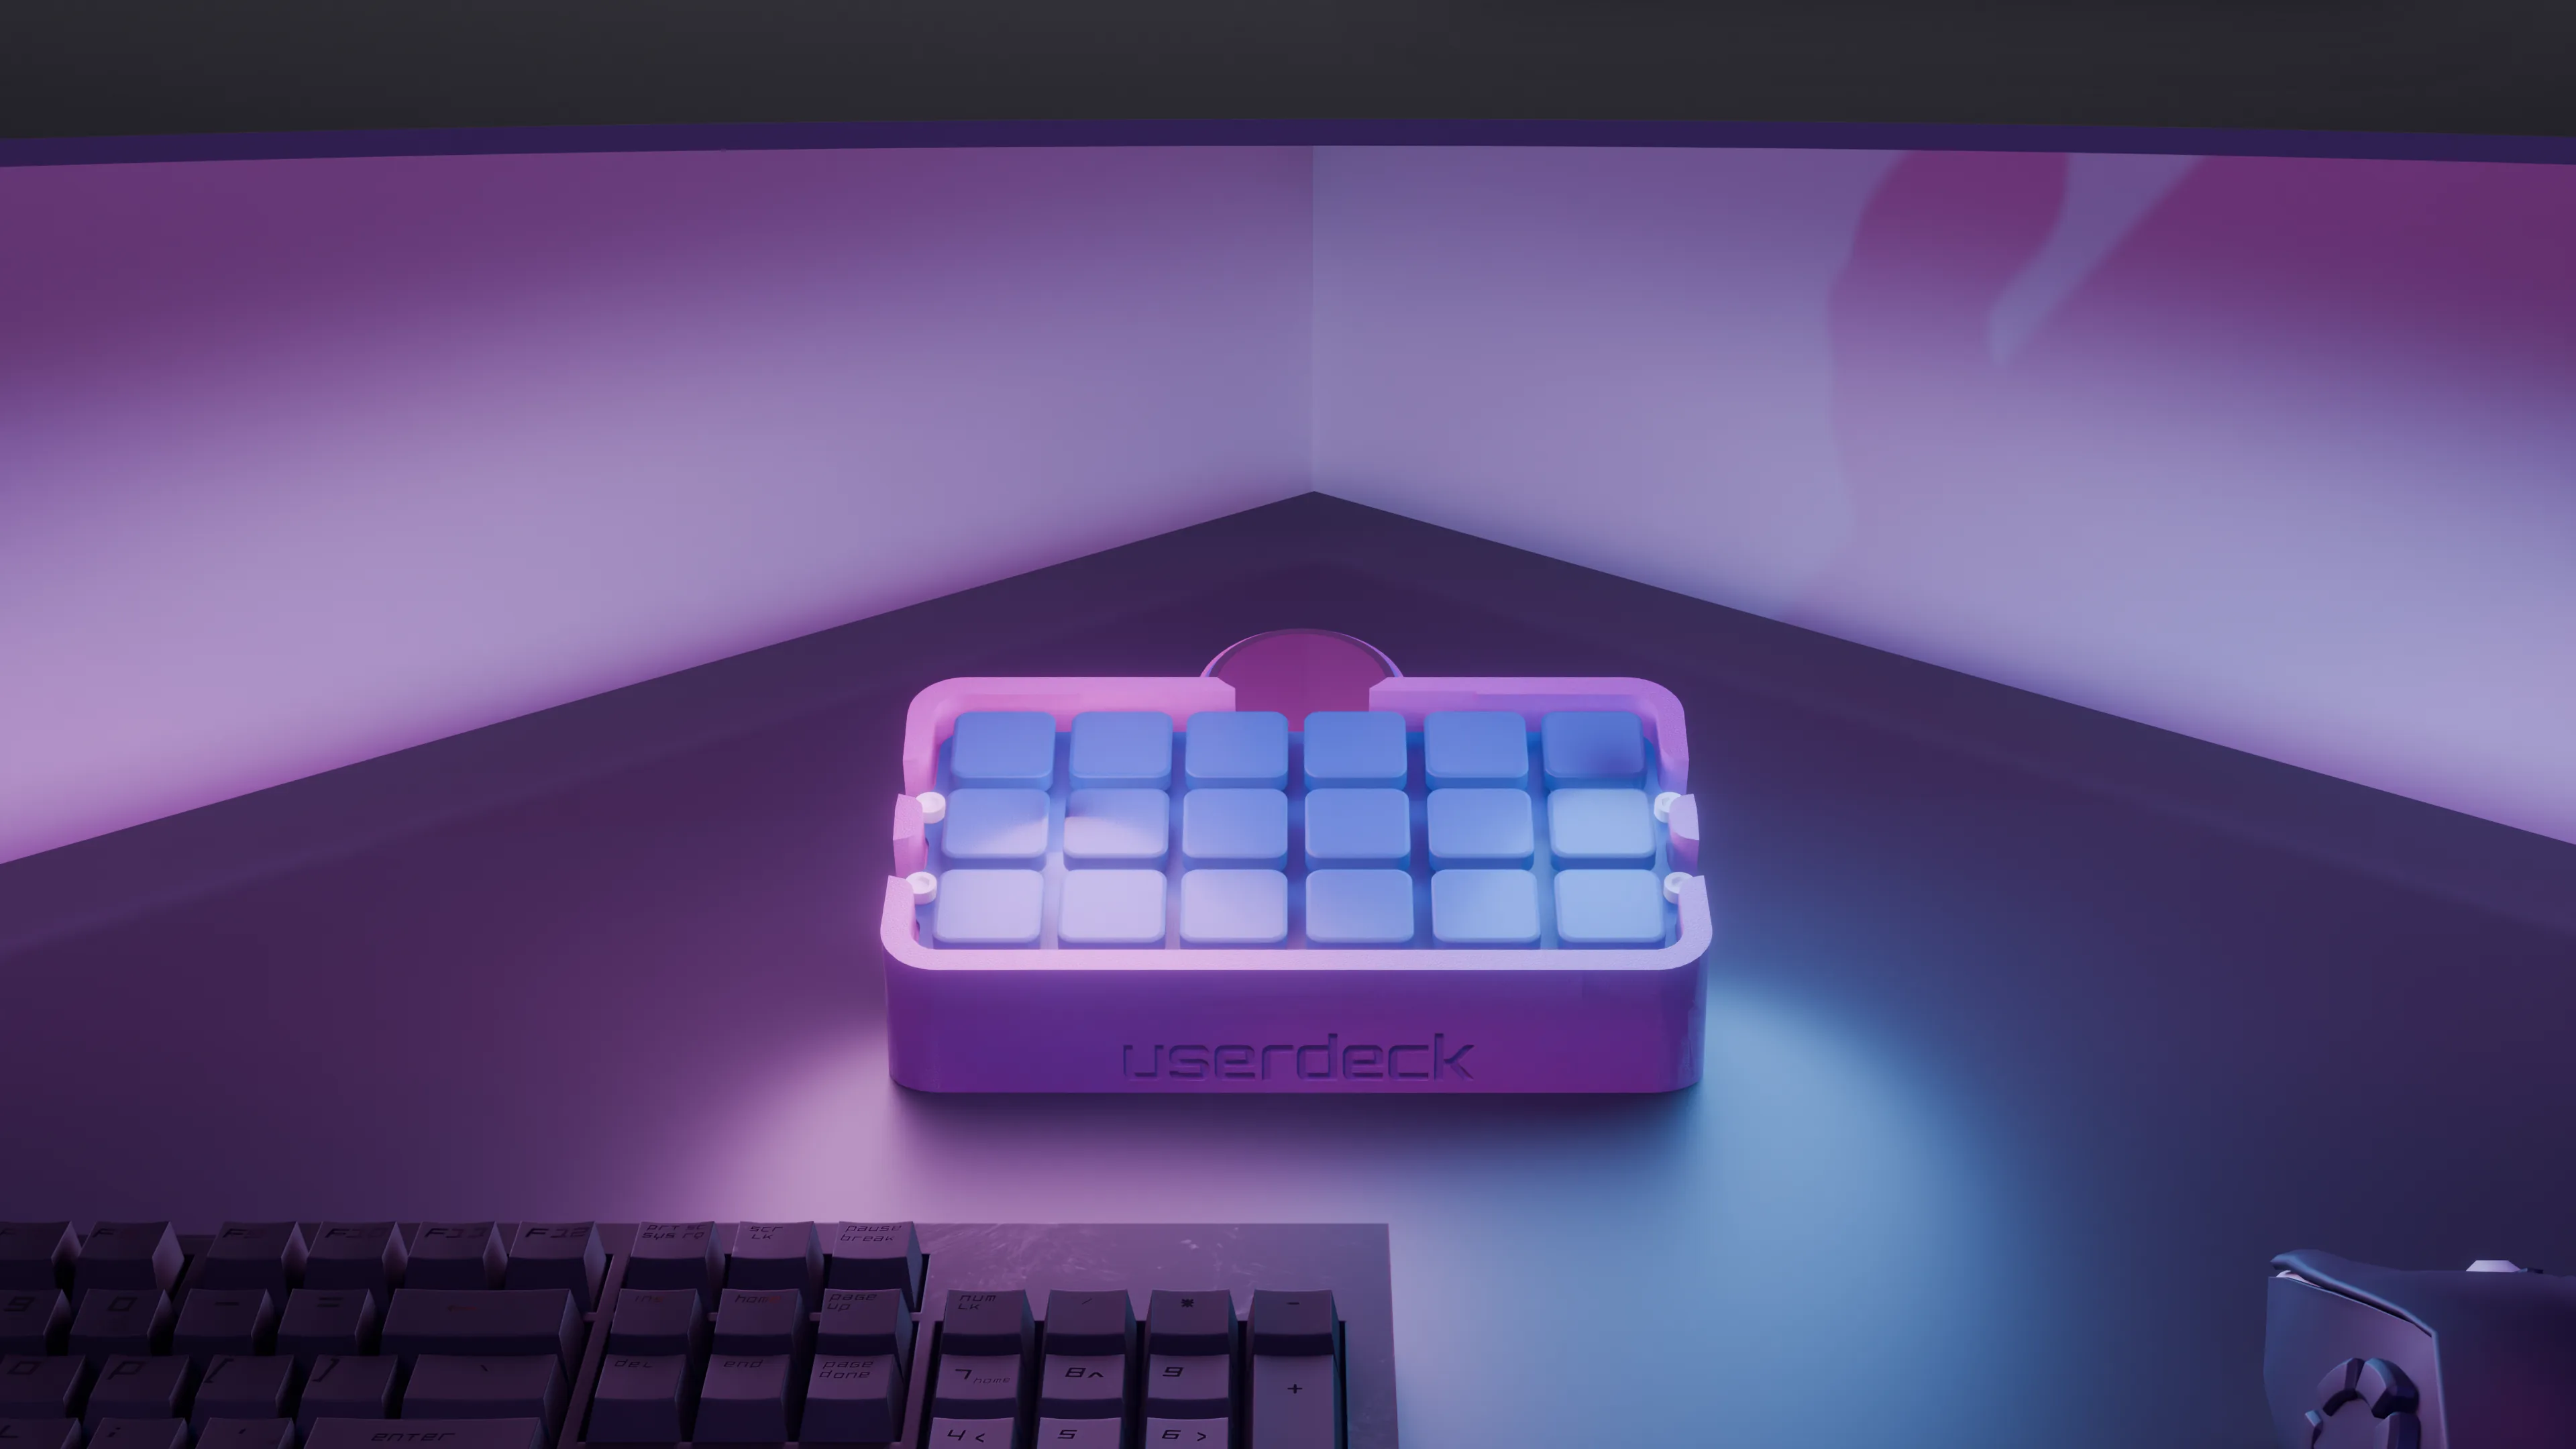
Macros a single press away
Sat next to the keyboard, the deck runs 5 pages of bindings: key chords, sequences, launchers, and system actions. The round display shows the page and labels so you always know what a press will do.

Mechanical to the touch
Eighteen Cherry MX switches under standard 1u keycaps. Hot-swappable, so you can tune the feel, swap in clicky or linear switches, and re-cap it however you like without touching a soldering iron.
Print it, or skip the soldering.
The firmware and the Configurator app are identical either way. Pick how much of the build you want to do yourself.
Download the pack
Print files, the full bill of materials, and the wiring diagram. Source the parts, print the shell, solder it up, and the Configurator flashes the firmware for you.
Download .zipShips built and flashed
Don't want to print and solder? Order the assembled bundle. It arrives built, flashed, and ready to plug in, with the same hardware and firmware as a home build.
See pricingEverything you need to make one.
Bill of materials
| Part | What I use | Notes |
|---|---|---|
| Microcontroller | Raspberry Pi Pico | The original RP2040 board. Pico 2 also works. |
| Key switches (x18) | Kailh Low Profile Cherry MX-style | Any Cherry MX-compatible switch fits. |
| Wire (signal) | TUOFENG 30AWG solid | Thin enough to snake between switches. |
| Wire (heavier runs) | TUOFENG 28AWG solid | Optional, for power and longer pin runs. |
| Filament | SUNLU PLA+ 1.75mm | Any decent PLA prints the enclosure fine. |
| Rubber feet | 4x circular 6mm rubber feet | Any set of four works. |
| Cable | micro USB | The Pico's native port. USB-C optional, below. |
| Display (optional) | GC9A01 1.28" round SPI | Recommended. The deck works without it, you just lose the visual feedback. |
Full part links and the wiring diagram live in the pack and in the GitHub BOM.
Want USB-C instead?
The Pico ships with a micro USB port. If you'd rather have USB-C, and you're up for a bit of extra soldering, wire in an Adafruit USB Type-C Breakout (Product ID 4090). It exposes D+, D-, VBUS, and GND pads that drop straight onto the Pico's USB pins.
The enclosure has space for it if you mount it at the back. Nothing in the firmware or Configurator changes, the deck still enumerates as the same userdeck device.
Power, sleep & wake
A bound button can sleep, shut down, or wake your PC. Sleep / Wake is a single toggle, and Power On / Off shuts down or attempts a wake.
For wake-from-sleep to work, set two things once:
- Device Manager, userdeck, Properties, Power Management, tick Allow this device to wake the computer.
- BIOS, enable Resume by USB / ErP Disabled / USB Power in S4/S5 (the name varies).
Wake-from-full-shutdown (S5) depends on your motherboard. Some chipsets only wake from sleep (S3). The shutdown half always works.
My workshop setup
You don't need any of this to build a userdeck, but if you're starting from zero, this is what I use:
- 3D printer, Elegoo Neptune 3 Pro.
- Soldering / hot-air reflow, a combo station.
- Microscope, Andonstar AD240, handy for inspecting the GC9A01 solder joints.
Download the hardware pack.
One zip with the print files, bill of materials, and wiring diagram. Pulled straight from the newest GitHub release.
Links to the latest GitHub release. Prefer to browse file by file? The whole repo, including the hardware folder, is on GitHub.